

How to Carve a Turkey (Without Butchering It)..
Learn how to carve a turkey the easy way. Rest it, follow the joints, and get breast, dark meat, drums, and wings on the platter fast and hot.

You spent hours on that bird. The brine, the fire, the waiting. Then the moment comes and somebody grabs a knife and starts hacking at it like they're clearing brush. Don't be that guy.
Carving a turkey isn't hard. It just looks hard because most people fight the bird instead of working with it. Here's the secret: you're not cutting a turkey, you're taking it apart at the joints. Find the joint, cut through the joint, move on. That's the whole method.
If you're still figuring out the cook itself, start with our Turkey 101 hub. Once the bird's done, come back here.
Want to see it before you try it? Watch the full carve on our Instagram video.
Timing: Carve Last, Serve Hot
This is the part people get wrong before the knife ever comes out. Carving should be the very last thing that happens before the meal.
Everything else should already be on the table and hot. Sides out. Gravy ready. Drinks poured. Crew seated or close to it. Then the turkey gets carved and walked straight to the table.
Carve too early and you're serving lukewarm turkey next to steaming mashed potatoes. Nobody wants that.
The Gear You Need
Keep it simple. You need a sharp knife, and we mean sharp. A dull knife tears the skin and shreds the breast. Use a wood board, not plastic, so the bird stays put and your knife stays happy.
Two DMS tools make this a lot easier. The Dead Prong Fork is basically a giant carving fork, and it anchors the bird while you work. The Dead Grip Tongs move every piece from board to platter without you burning your fingers or mangling the meat.
Step 1: Rest the Turkey for 30 Minutes
Pull the bird and let it rest for 30 minutes under loosely tented foil. Loose is the key word. Wrap it tight and you'll steam the skin you worked so hard to crisp up.
Resting lets the juices settle back into the meat instead of running all over your cutting board. It also gives you a half hour to get everything else on the table, which lines up perfectly with carving last.
Step 2: Take the Wings Off
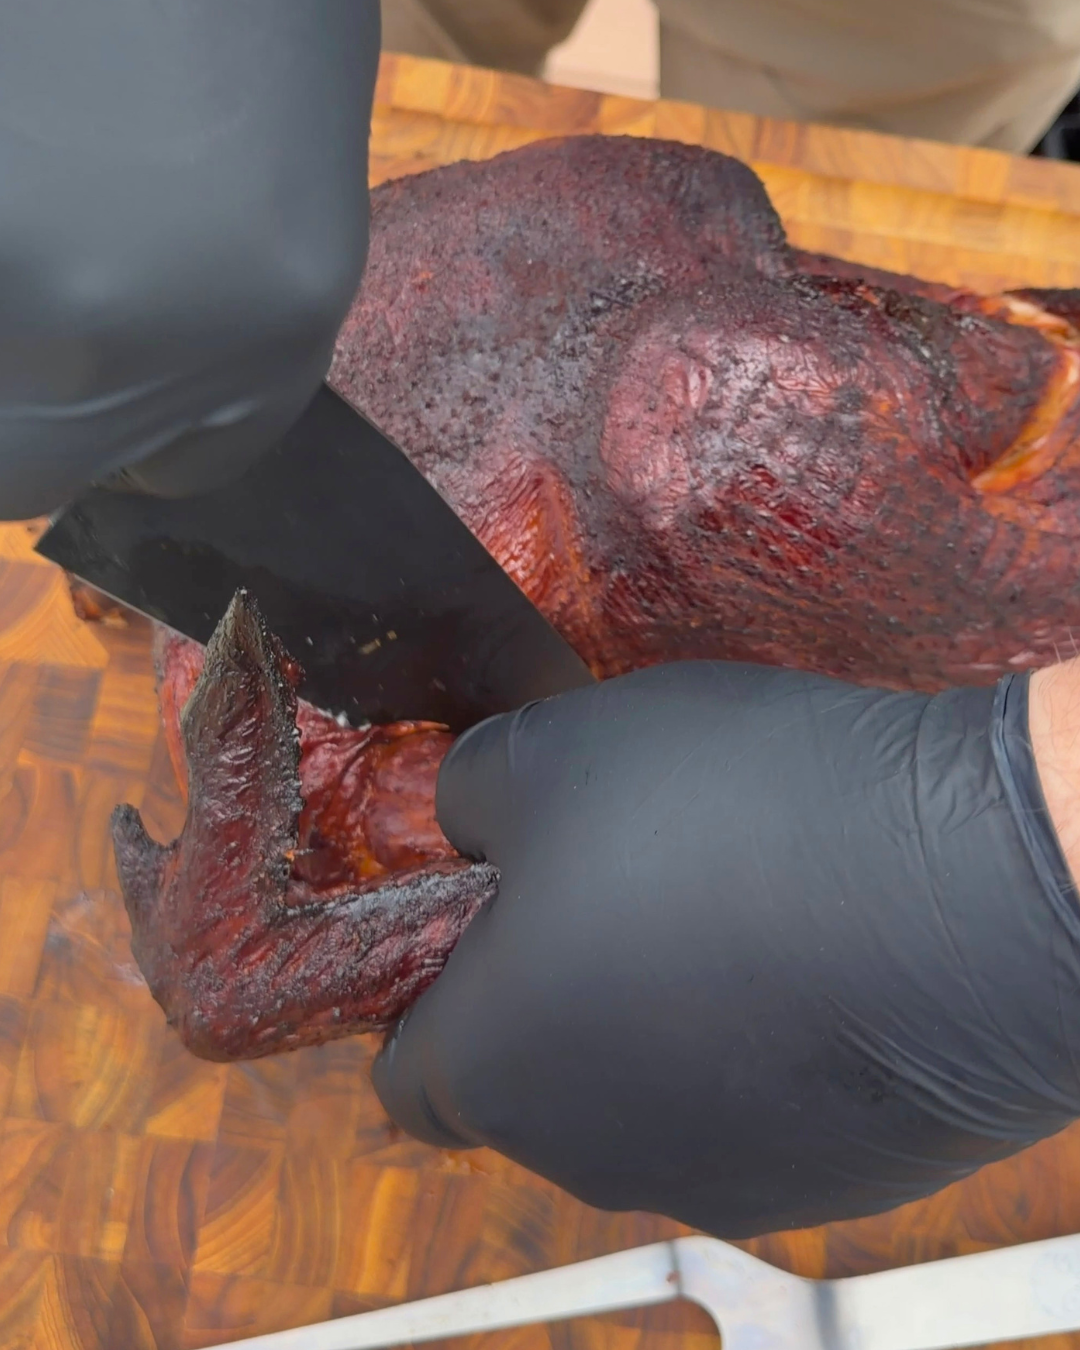
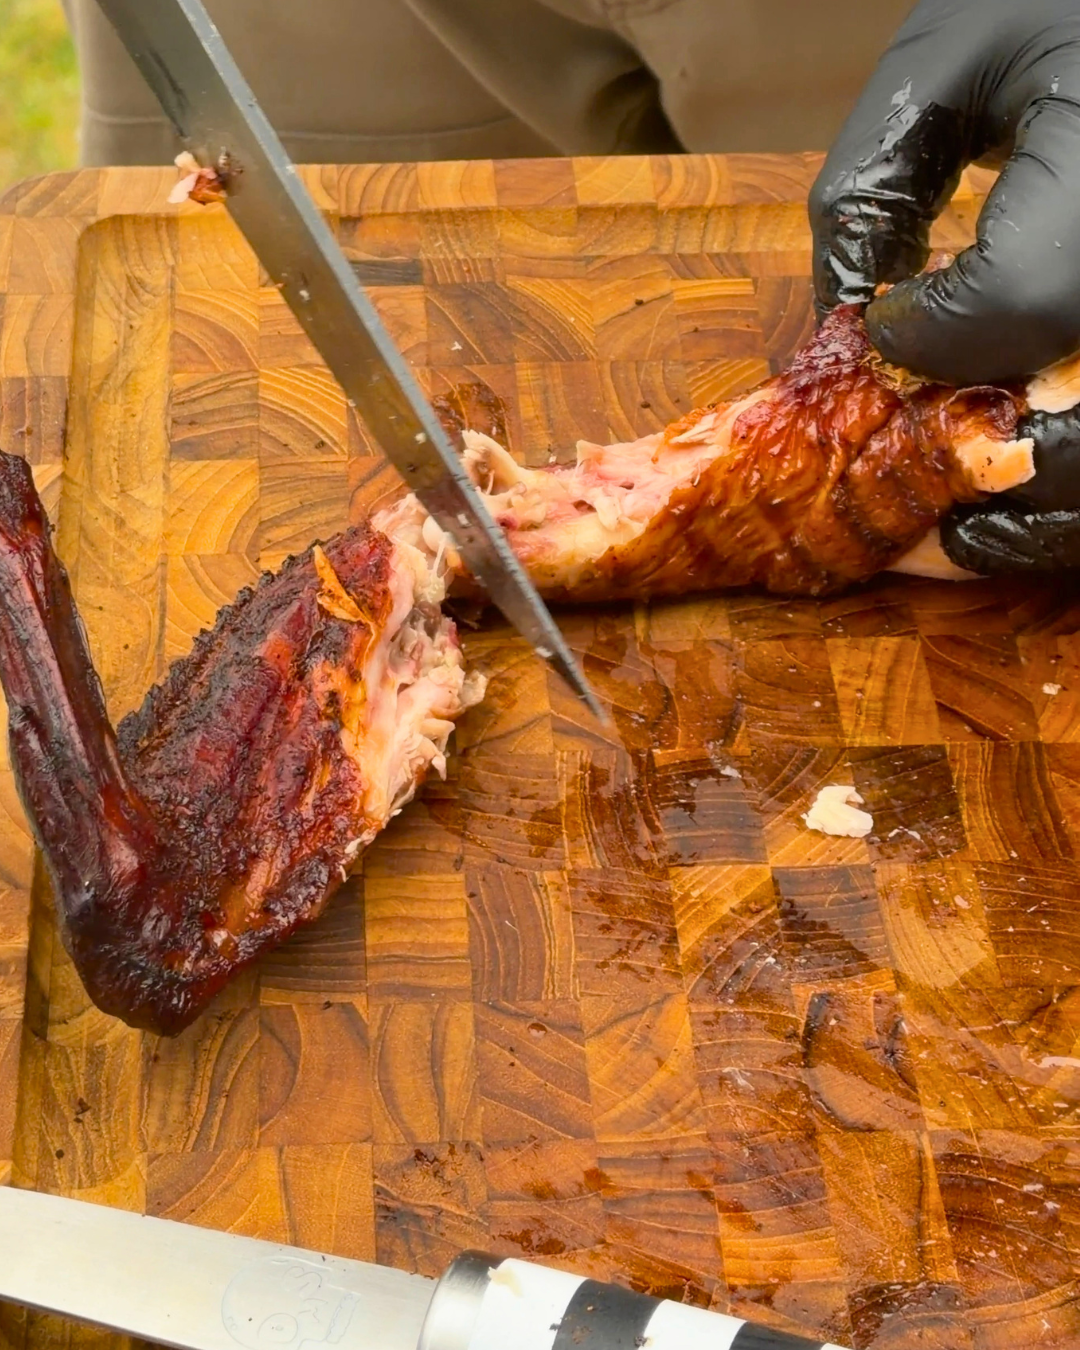
Start with the wings. Pull a wing away from the body, find the joint where it meets the breast, and cut through it. Then separate the wing at its middle joint so you've got two pieces.
Do both sides. That's four wing pieces. Set them on your serving platter.
Remember the rule: you're always looking for the joint. If you're sawing through bone, you missed it. Wiggle the piece, feel where it moves, and cut there.
Step 3: Remove the Leg Quarters
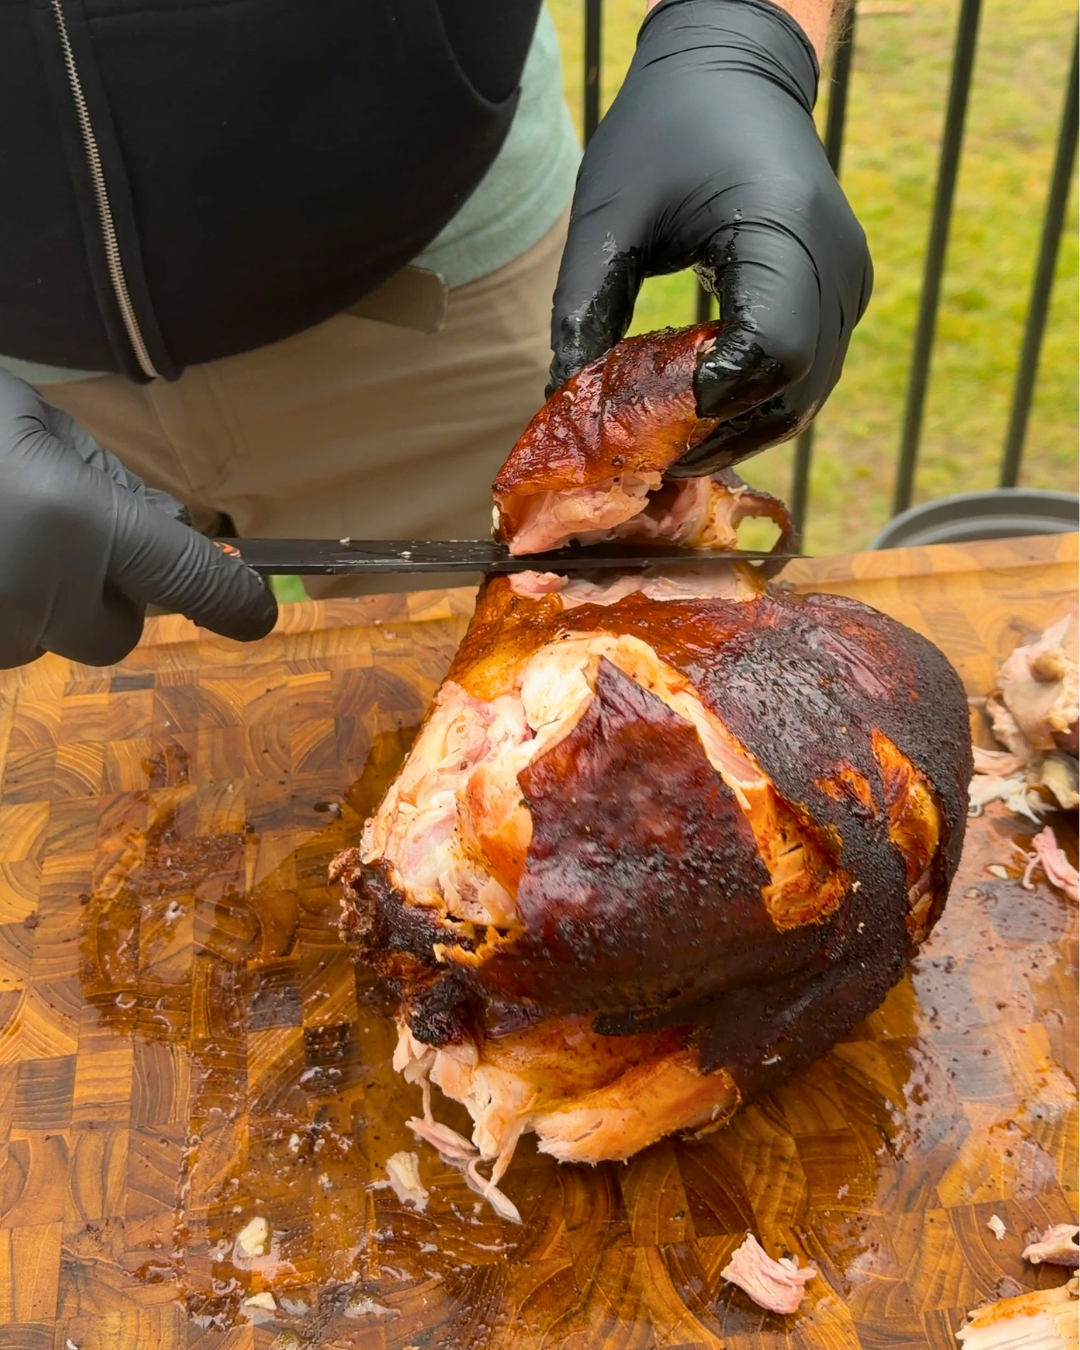
Next, take the whole leg quarter off in one piece, thigh and drumstick still attached. Sink the Prong Fork into the body to hold it steady, pull the leg away, and slice through the skin between the leg and the breast, and pop the thigh joint where it connects to the backbone. Cut through and the whole quarter comes free.
Do the other side.
Step 4: Separate the Drum and Thigh
Lay each quarter skin side down and find the joint between the drumstick and the thigh. Cut straight through it.
The drumsticks go on the platter with the wings. The thighs go to the side for now. You'll come back to them.
Step 5: Slice the Breast
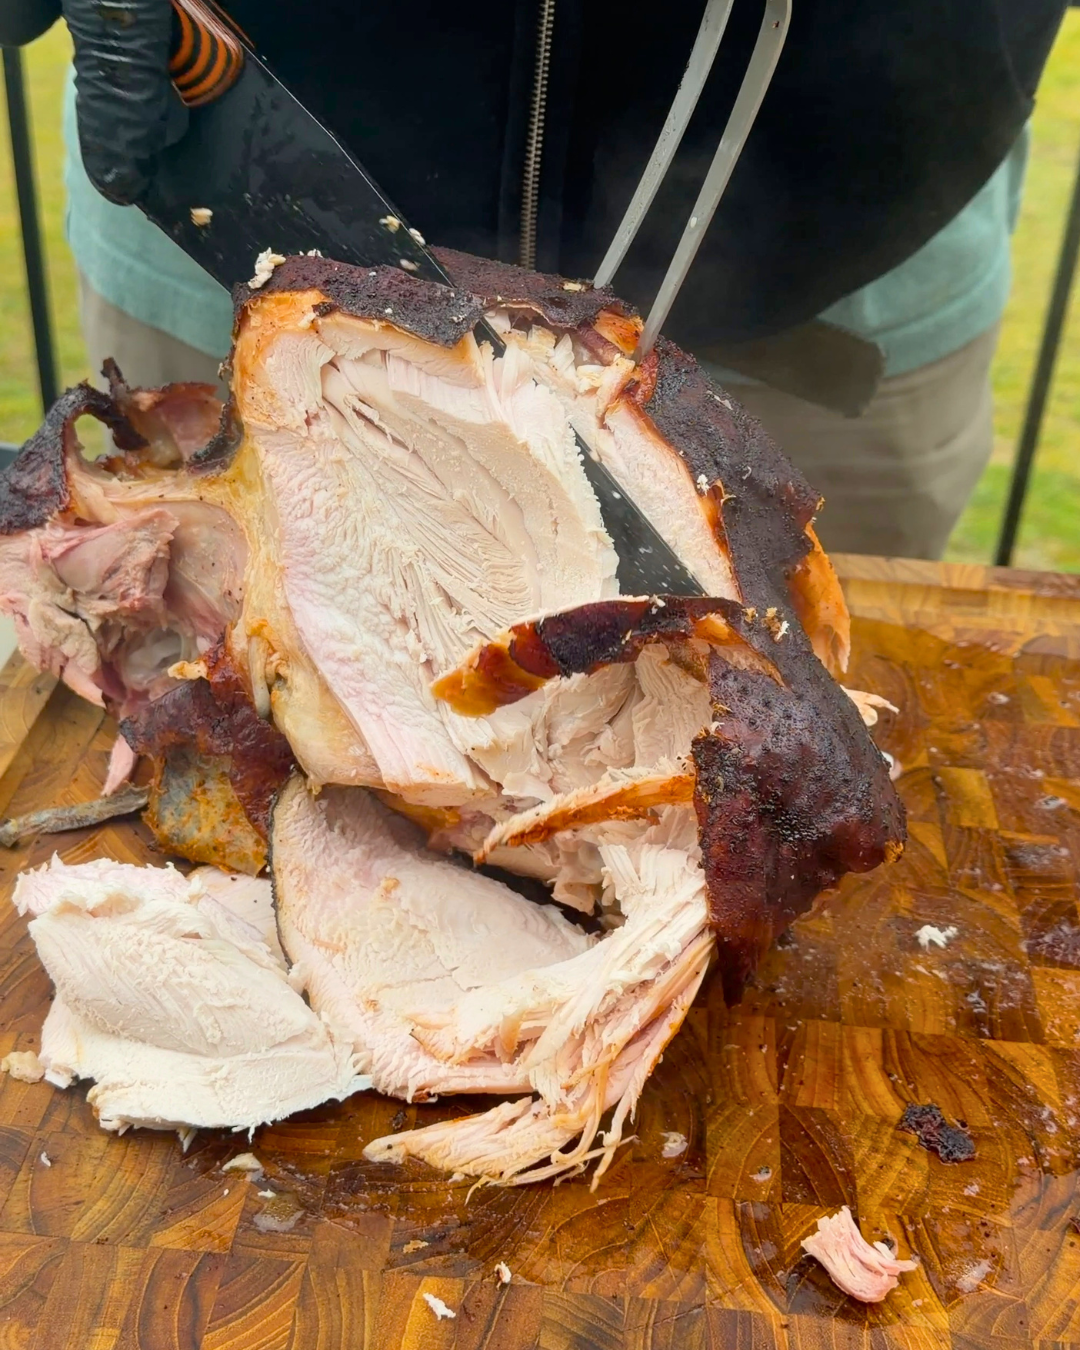
Now all that's left on the carcass is the breast, and you've got clear access to it.
Work one breast at a time, with the Prong Fork holding it in place. Slice it into clean, even pieces and grab them with the tongs and move them to the platter as you go. Then do the other side.
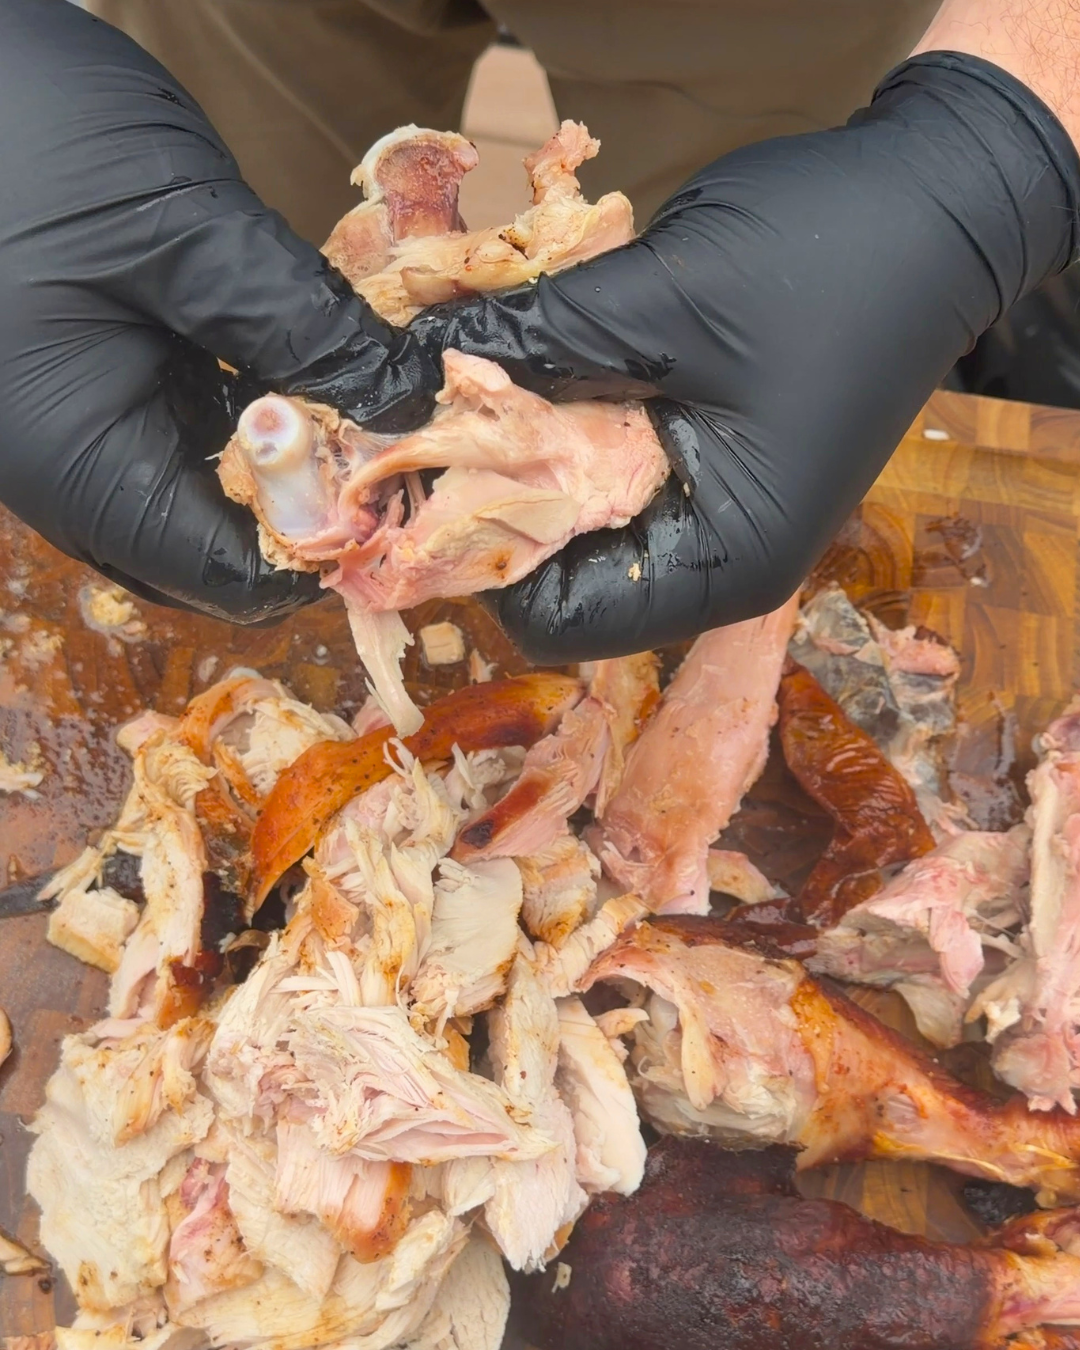
Step 6: Pull the Thigh Meat
Go back to those thighs. Pull the meat off the bone by hand or with a fork. Thigh meat is the juiciest meat on the bird, and pulling it keeps it tender instead of chopping it up with a knife.
Pile it up on the platter.
What You End Up With
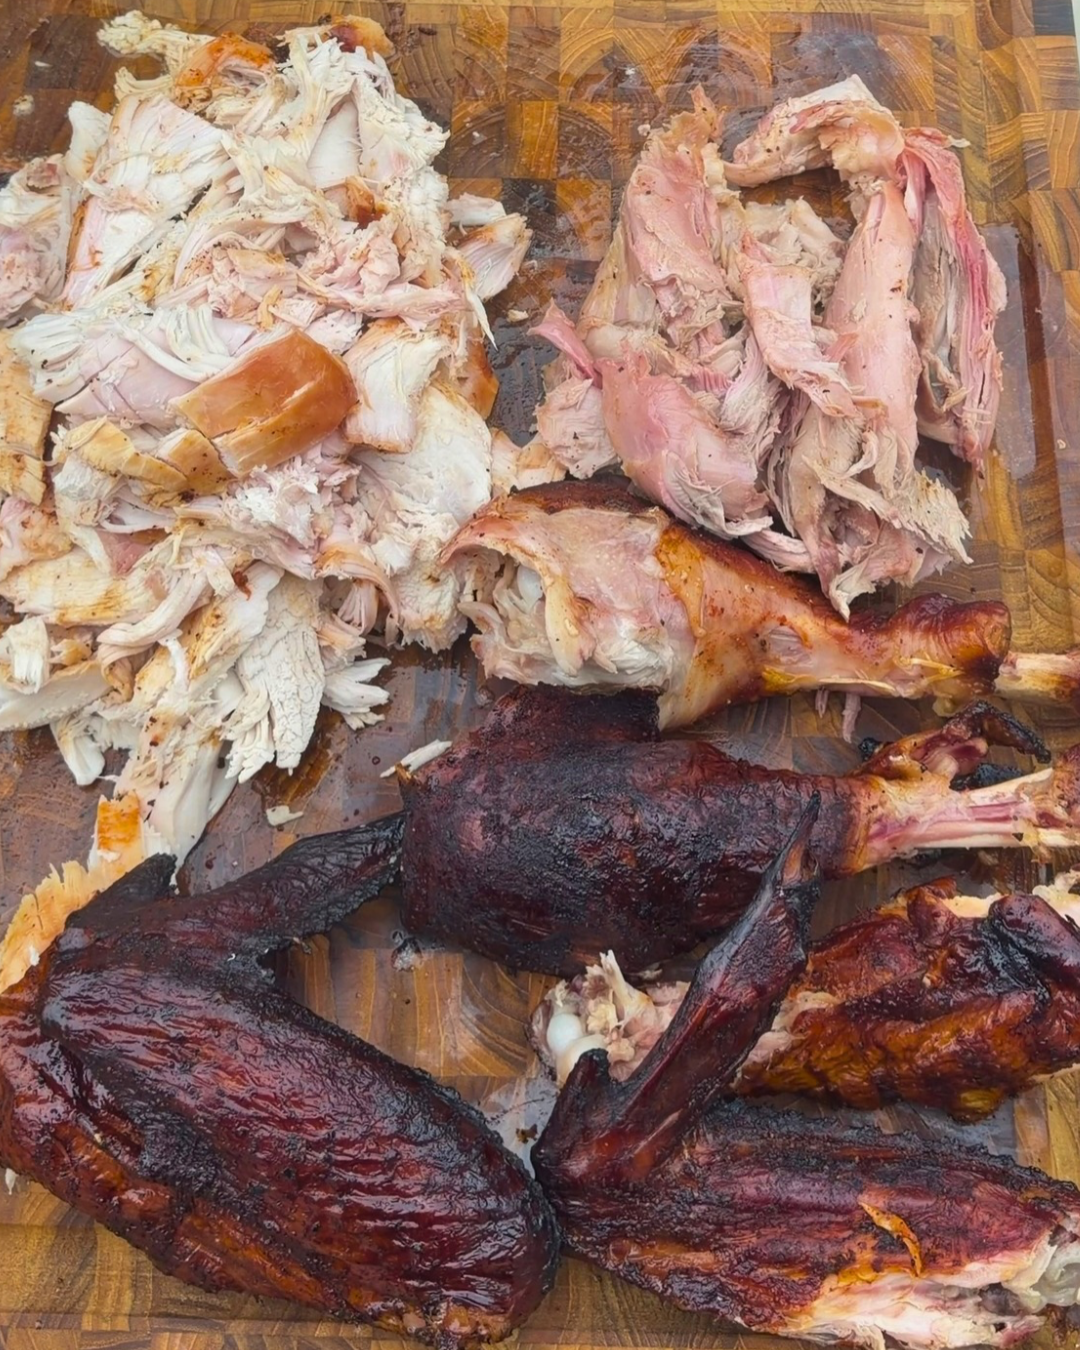
When you're done, your platter should have:
A pile of sliced breast meat
A pile of pulled dark meat from the thighs
Two drumsticks
Four wing pieces
Everybody gets what they want. The white meat crowd, the dark meat crowd, and the guy who's been eyeing that drumstick since noon.
Why the Joint by Joint Method Works
It's fast, it's clean, and it doesn't take a fancy knife or any surgical skill. Every cut follows the natural structure of the bird, so you're never fighting bone. And because you're plating as you go, the meat hits the table hot.
THE ULTIMATE PRO TURKEY TIP
Cook a practice bird a week or so before the big day, get your grill dialed in, decide on your rub flavors, whether or not your bringing, all the little details, then you get to practice the carve before the big day.
The best way to learn how to find the joints and break the bird down quick is to PRACTICE!
Bring It to the Table
That's it. Rest it, break it down at the joints, slice the breast, pull the thighs, and walk it out. The fire brought everybody together. Now feed them.
For more on cooking the bird itself, head back to Turkey 101.
FLAME. FAMILY. COMMUNITY. FEED EVERYONE.
